This week I seem to have been thinking natural thoughts lol! I have three cards and a corner bookmark and a tiara (HUH!) Where does that figure in the wild lol! Well it doesn't unless you include a Princess themed Brownie party :D
Right on to the first card, this is for a lovely lady who is retiring this week where I work. I've known her most of my life and she is the sweetest person and will be very much missed. She is a nature lover and a keen animal lover so I wanted something that reflected her interests. I used the Cricut to cut the mat and my Bigshot to cut the felt flowers. Images were stamped using Crumb Cake and the twine was a bargain from the £1 shop lol! And it came in a cute tin which I will alter when the twine has all gone.

Supplies:-
Card stock Stampin Up Marina Mist, River Rock and Very Vanilla
Designer paper series Stampin Up Botanical Gazette
Stamp set Stampin Up Nature Walk
Sentiment See D's stamp
Natural Jute garden twine from £1 shop
Ink Pads Stampin Up Crumb Cake & Old Olive
Cricut Cart Tie The Knot
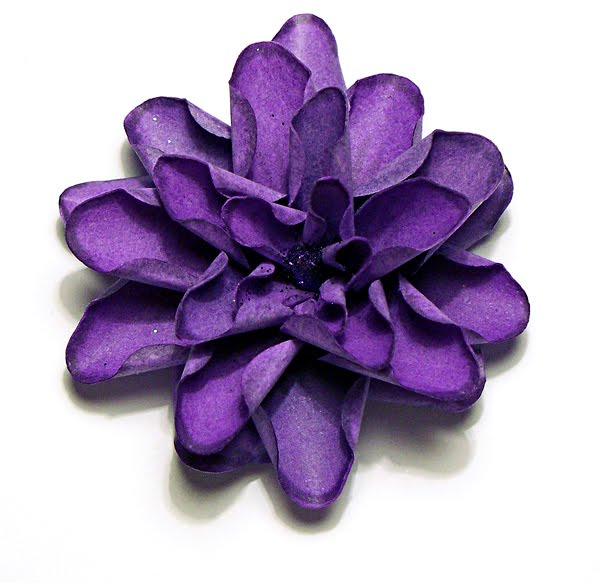
Sizzix Die Flower layers set
Felt sheets from Hobby Craft
This next card is for my Dad, I haven't decided if it will be for Father's day or his birthday yet. I stamped the image in Crumb Cake and also used it to ink the edges. The mats were cut from the Gypsy Wanderings cart (Yep I now am the proud owner of a Gypsy :D more about that in another post )
The card was two mats from the Don Juan cart welded together, I used the stitched one then used my pokey tool to pierce the top layer so I could stitch it easily. I used my new Tim Holtz wood grain embossing folder for the brown piece and Core'dinations Chocolate Box cardstock which I then sanded back and inked to give it a mossy look.

Supplies:-
Card stock Stampin Up Sahara & Core'dinations Chocolate Box
Ribbon Stampin Up
Cricut Carts Gypsy Wanderings, Gyspy Font & Don Juan
Ink Pads Stampin Up Crumb Cake & Old Olive
Tim Holtz wood grain embossing folder
The next card is just too cute, even if I say so myself lol! It's for my nephew who is a Sheffield Wednesday fan and for those of you who don't know, The SWFC symbol is an owl, hence their nickname, The Owls. Again I used the Tim Holtz wood grain folder, used my nestabilities to cut a hole and cut the sentiment from the Just Because Cards cart.

Suppiles:-
Card stock Stampin Up Choc Chip, Core'dinations Chocolate Box, Core'dinations green and lime scraps
Cricut Cart Just Because Cards
Ink Pad Color Box Creamy Brown
Tim Holtz wood grain embossing folder
Stampin Up 2 Step Owl punch
A few scraps of brown & cream card for the owl
This is a corner bookmark, I followed a tutorial on You Tube but don't have the link handy so will post it later.

Supplies:-
Card Stock Stampin Up Rose Red & Certainly celery
Designer paper series Stampin Up Botanical Gazette
Inkpad Stampin Up Old Olive
Stamp set Crafters Companion Mens Collection
Ribbon HunkyDory
Finally here is the tiara I made for my niece for her Brownies party.
My sister popped around for a visit on Wednesday and the first thing she said to me was, do you have a tiara, obviously I said, of course darling, I have several, just like the Queen Lol!!
Anyhoo I actually don't but I had an idea, I whipped out my Rock Princess cartridge and said take your pick.
This was so simple to make, I cut it at about 7 inches, cut 2 strips of glitter card stock which I glued either side to make a band, adding velcro so it could be adjusted and then just blinged it up. Simples :D
I do have a piccy of my sister modelling it but she won't let me post it lol!! Don't know why she's so worried, her street cred went down the pan years ago lol!

Supplies:-
C&C pink glitter & silver mirri card stock
Cricut Cart Rock princess
Hobby Craft large pearl hearts and clear gems
Self adhesive velcro strips
Any hoo that's all for now, off to get ready for work. I am hoping to post a vid tomorrow and maybe show off some of my birthday haul, which isn't until next week but seeing as I bought most of it myself I decided I could have it early lol!
Have a happy crafty day
Anna x


 Suppiles:-
 Supplies:-
 Supplies:-


 1. Cut 4 owls, 2 in yellow and 2 in orange, 2 chest pieces in pale yellow, 1 of the small circles in yellow, 2 small circles in white, 1 heart in orange and 2 tiny circles in black (alternatively you could draw these on using a black pen)
 2. Cut the feet off the yellow owls and sponge the edges
 3. Glue the yellow owls over the orange base
 4. Cut of the owls ears, rounding of the corners so you get a nice shape and then touch up the sponged areas
 5. Do this to both sets and sponge the small yellow circle with the orange ink
 6. Next sponge the 2 chest pieces with the yellow ink and glue to the main body of the chick
 7. Cut the small yellow circle in half, sponge the cut edge and assemble the eyes
 8. Glue the eyes just above the chest and then glue the beak (orange heart) in place, overlapping the eyes slightly
 9. For the egg you need a scrap of pale peach card stock, punch an owl from a piece of copier paper.
 Cut off the feet and the use to draw a rough template for the bottom half of the egg. It needs to be a couple of mm wider than the actual chick.
 Then draw a rough line to join the two sides of the egg together and cut out
 10. Sponge the edges of the egg with your brown ink pad
 11. Glue the egg on to the chick with no face
 And there you have your two chickies ready to decorate your card, I made several and chnged the position of the eyes to get different expressions.


