Wednesday 16 December 2015

Christmas Countdown Day 8 - Rustic Snowman

Rustic Snowman


Another pretty, rustic card today using a Molly Blooms stamp I have had for a few years now and it's still one of my favourites.

The card has been stamped with potting soil archival ink, and water coloured with inktense pencils.  I've added some distressing and some Heidi Swapp color shine spray, glitter and a touch of glossy accents for some sparkle.


Happy Crafting

Anna x

Monday 14 December 2015

Christmas Countdown Day 7 - Wiggle 'til You Giggle

Wiggle 'til You Giggle


Today's offering is a super cute wiggly snowman.

A very quick and simple card using a cut file from Miss Kate Cuttables, I made the snowman into a shaped card and popped him up onto a wobble spring for some added fun :)

Happy Crafting
Anna x


Sunday 13 December 2015

Christmas Countdown Day 6 - Rustic Stag

Rustic Stag


Just a quick card today.

Stamped with a freebie stamp from the Creative Stamping magazine in potting shed archival ink.  Water coloured with Inktense pencils and distress ink in gathered twig.

I added some splashes with Heidi Swapp gold Color Shine spray.

The papers are from an old collection of Papermania Christmas papers and the banner stamp is from a Hero Arts set.
 

Happy Crafting

Anna x

Wednesday 9 December 2015

Christmas Countdown Day 5 - Steampunk Santa

Steampunk Santa


Today's offering is another card, much more grungy and vintage than the first few I've shared. 


Supplies

The Artistic Stamper Steampunk Santa stamp
The Artistic Stamper Calligraphic Mat #8
Craft Stamper magazine free mini stamp set Believe
My Craft Studio Shabby Sweet printable postcards
Tattered Lace Dies Victorian Snowflake
Kaiser Craft Papers
Papermania metal clock faces and gears
The Works metal key embellishments
The Works Wooden frames and corners
American Crafts Chestnut brown woodgrain textured card
Manilla tag
Red & white twine
Heidi Swapp Color Shine gold
TH Distress stain Festive Berries
Ranger archival ink pad Potting Soil
Glossy Accents
Red sequins
Gold card
Red doily

Happy Crafting
Anna x

Monday 7 December 2015

Christmas Countdown Day 4 - Frosted Ornaments

Christmas Countdown Day Four

Frosted Ornaments


I wanted some new ornaments for my tree but didn't want to spend a fortune this year, so I had a rummage in my old stash and found these two letters, which are My OH and my first initials. 

I bought them years ago with the intention of making tree ornaments with them.  So out came the glitter embossing powders, gesso, gel medium and Distress glitter and I was off on a crafty mission.

Supplies

Wooden letters HobbyCraft
Silver glitter embossing powder(I used on old pot of Melt Dust which isn't available any more but there are several brands that do the same kind of glitter embossing powder)
Windsor & Newton Galleria gel medium
Windsor & Newton Galleria white gesso
Liquitex titanium white acrylic
White sequins The Range
Small pine cones HobbyCraft
Silver berries The Range
White Berry Sprig The Range
Florist wire HobbyCraft
American Crafts Pine Green cardstock
Silver and white twine HobbyCraft


I first painted the wood with gesso, once dry, I gave them two coats of silver glitter embossing powder.  I then brushed on more gesso and immediately rubbed this off with a paper towel being sure not to rub off the gesso on the edges of the letters.

I then applied a liberal amount of clear gel medium, blobbing (technical term lol!) it on to make icicle shapes and sprinkled on Rock Candy Distress glitter while still wet.

I made some sprigs from florist wire, dipped in gel medium and the sprinkles with micro beads in silver and some crushed coloured shell which I bought form the pound shop, it's in littles post and is meant for nails.

I cut some pine branch foliage from the 3D Wintergreens SVG set from SVGCuts.com and added some white paint .

To finish off I glued on some small pine cones, sparkly white berries, sequins and a copper heart brad.

I love how they turned out and can't wait to put them on my tree.

I hope I've inspired you to go and rummage in your stash to make some beautiful handmade Christmas ornaments.

Happy crafting
Anna x  

Saturday 5 December 2015

Christmas Countdown Day 3 - Angel Wings

Christmas Countdown Day Three

Angel Wings

The gorgeous Tattered Lace angel wings die inspired me to make this card.

The stamp is a Lili of the Valley stamp and I painted it with Twinkling H2O's and Inktense pencils.  The layers are distressed with faded chipped sapphire distress in and there is a splattering of distress spray in brushed pewter.  The snow flakes and wooden shapes where covered with the distress sprat and glittered with stickles for a touch of extra sparkle.
Supplies
Tattered Lace Dies Angel Wings (D1037)
Lili of the Valley Stamp Peace on Earth
First Edition Silent Night Paper Pad
Papermania Capsule Collection Bexley Black Doily
Wooden Stars and snowflakes HobbyCraft
Die Cut Snow Flake cut on Silhouette
White berry sprig from The Range
Tim Holtz Distress Ink in Chipped Sapphire
Tim Holtz Distress Spray Stain in Brushed Pewter
Inktense pencils
Twinkling H2O's
Silver and white bakers twine HobbyCraft
White lace from stash
White cobweb fabric HobbyCraft
Stardust Stickles
White Sequins

Hope you liked today's instalment.

Happy Crafting
Anna x


Thursday 3 December 2015

Christmas Countdown Day 2 - Silver Antlers

Christmas Countdown Day Two


Silver Antlers


I just adore this free stag stamp from Creative Stamping magazine, I've used it on several cards and I plan to use it on some mixed media layouts too.  I love how simple and clean this card looks,  the silver, white and grey just work perfectly :)

Supplies

Creative Stamping magazine issue 56 free stamps
Penny Black Slapstick Cling Stamp Set Christmas Banners
First Edition Silent Night 6 x 6 paper pad
Black Stazon
Stampin' Up Smoky Slate ink pad
Stickles Candy Cane
Metal snow flake charm
Silver and white twine
White card
Holographic silver glitter

This was so easy to put together, you could easily knock up a batch of these in no time.

I matted and layered the Silent Night papers onto a 6 x 6 card blank, inking the edges with the grey ink.  I then stamped the stag in Stazon onto white card and the banner in grey ink and fussy cut them out, not bothering with the antlers ans I also stamped the stag onto the patterned paper.

I popped up the banner with foam pads and added a bow and charm.

The stag was glued flat to the card and the antlers glittered using the silver glitter.

And that's it, so quick!

Don't forget to check out my new Facebook Page

Happy Crafting
Anna x

Tuesday 1 December 2015

Christmas Countdown Day 1 - Snow Ride

Life seems to have gotten in the way of blogging one again and here we are in December.

I have been a busy bee creating my December Daily album and getting the few cards I am making this year done.  I now only make cards for close family members as I don't have time to make 50 plus cards lol!   I've also been working on some fun mixed media projects which I'll be sharing soon.

I have planned to update with a new blog post every couple of days through out December, so fingers crossed my plans work out.

I'm also planning to get a couple of videos up, to share my December Daily progress and maybe some handmade ornaments I've made for our tree.

I also have a new Facebook Page, go check it out here

So, onto the first instalment of Christmas Countdown!

Snow Ride

This card nearly went in to the trash can lol!  I originally coloured the image just with Inktense pencils, however, I had done it at night in the living room and the lighting is dismal in there and it wasn't looking that great.  I decided to fiddle with it the next morning and added some distress markers and was much happier with the result, not perfect but heyho it's for my Mum so I'm sure she won't mind lol!

Supplies

Lily of the Valley Stamp Toboggan For Two
Ranger Black Archival ink pad
First Edition 6 x 6 paper pad Silent Night
American Crafts white textured cardstock
Papermania Capsule collection grey doily
American Crafts white glitter paper
White iridescent sequins
Small pinecones
White berry sprig
Red Berries
White Eyelash yarn
White lace
Distress Markers
Inktense Pencils
Stickles Stardust
Sakura Gelly Roll glitter pens in red and green

I just love Lily of the Valley stamps, they are so whimsical and sweet!  I stamped the image in archival ink and then water coloured it with Inktense pencils and distress markers.  I added a few touches of sparkle with the gelly roll pens and Stickles.

The large snow flake was cut on my Silhouette from the AC glitter paper, I inked all the paper edges with distress ink and then distressed the edges with my scissors.

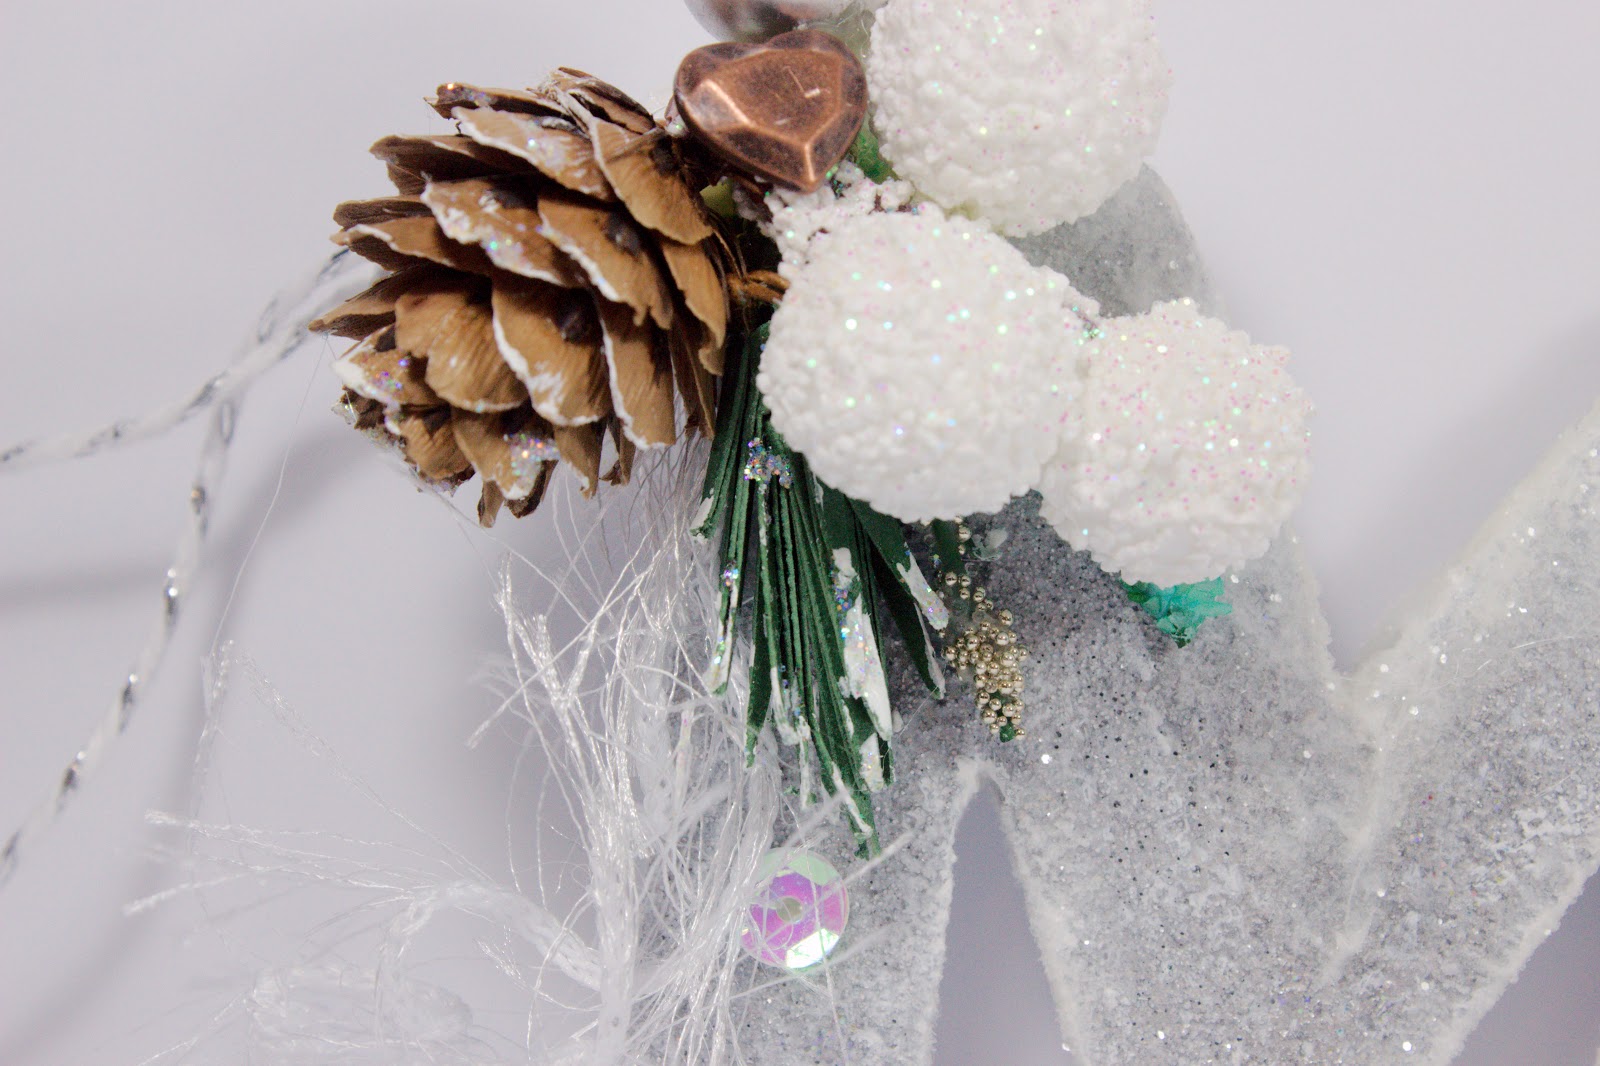
To add some dimension and a extra bit of colour and texture I added the cluster of pine cones and berries.

I really love how the card came together and I hope my Mum will love it too.

Happy Crafting
Anna x