Wednesday 16 December 2015

Christmas Countdown Day 8 - Rustic Snowman

Rustic Snowman


Another pretty, rustic card today using a Molly Blooms stamp I have had for a few years now and it's still one of my favourites.

The card has been stamped with potting soil archival ink, and water coloured with inktense pencils.  I've added some distressing and some Heidi Swapp color shine spray, glitter and a touch of glossy accents for some sparkle.


Happy Crafting

Anna x

Monday 14 December 2015

Christmas Countdown Day 7 - Wiggle 'til You Giggle

Wiggle 'til You Giggle


Today's offering is a super cute wiggly snowman.

A very quick and simple card using a cut file from Miss Kate Cuttables, I made the snowman into a shaped card and popped him up onto a wobble spring for some added fun :)

Happy Crafting
Anna x


Sunday 13 December 2015

Christmas Countdown Day 6 - Rustic Stag

Rustic Stag


Just a quick card today.

Stamped with a freebie stamp from the Creative Stamping magazine in potting shed archival ink.  Water coloured with Inktense pencils and distress ink in gathered twig.

I added some splashes with Heidi Swapp gold Color Shine spray.

The papers are from an old collection of Papermania Christmas papers and the banner stamp is from a Hero Arts set.
 

Happy Crafting

Anna x

Wednesday 9 December 2015

Christmas Countdown Day 5 - Steampunk Santa

Steampunk Santa


Today's offering is another card, much more grungy and vintage than the first few I've shared. 


Supplies

The Artistic Stamper Steampunk Santa stamp
The Artistic Stamper Calligraphic Mat #8
Craft Stamper magazine free mini stamp set Believe
My Craft Studio Shabby Sweet printable postcards
Tattered Lace Dies Victorian Snowflake
Kaiser Craft Papers
Papermania metal clock faces and gears
The Works metal key embellishments
The Works Wooden frames and corners
American Crafts Chestnut brown woodgrain textured card
Manilla tag
Red & white twine
Heidi Swapp Color Shine gold
TH Distress stain Festive Berries
Ranger archival ink pad Potting Soil
Glossy Accents
Red sequins
Gold card
Red doily

Happy Crafting
Anna x

Monday 7 December 2015

Christmas Countdown Day 4 - Frosted Ornaments

Christmas Countdown Day Four

Frosted Ornaments


I wanted some new ornaments for my tree but didn't want to spend a fortune this year, so I had a rummage in my old stash and found these two letters, which are My OH and my first initials. 

I bought them years ago with the intention of making tree ornaments with them.  So out came the glitter embossing powders, gesso, gel medium and Distress glitter and I was off on a crafty mission.

Supplies

Wooden letters HobbyCraft
Silver glitter embossing powder(I used on old pot of Melt Dust which isn't available any more but there are several brands that do the same kind of glitter embossing powder)
Windsor & Newton Galleria gel medium
Windsor & Newton Galleria white gesso
Liquitex titanium white acrylic
White sequins The Range
Small pine cones HobbyCraft
Silver berries The Range
White Berry Sprig The Range
Florist wire HobbyCraft
American Crafts Pine Green cardstock
Silver and white twine HobbyCraft


I first painted the wood with gesso, once dry, I gave them two coats of silver glitter embossing powder.  I then brushed on more gesso and immediately rubbed this off with a paper towel being sure not to rub off the gesso on the edges of the letters.

I then applied a liberal amount of clear gel medium, blobbing (technical term lol!) it on to make icicle shapes and sprinkled on Rock Candy Distress glitter while still wet.

I made some sprigs from florist wire, dipped in gel medium and the sprinkles with micro beads in silver and some crushed coloured shell which I bought form the pound shop, it's in littles post and is meant for nails.

I cut some pine branch foliage from the 3D Wintergreens SVG set from SVGCuts.com and added some white paint .

To finish off I glued on some small pine cones, sparkly white berries, sequins and a copper heart brad.

I love how they turned out and can't wait to put them on my tree.

I hope I've inspired you to go and rummage in your stash to make some beautiful handmade Christmas ornaments.

Happy crafting
Anna x  

Saturday 5 December 2015

Christmas Countdown Day 3 - Angel Wings

Christmas Countdown Day Three

Angel Wings

The gorgeous Tattered Lace angel wings die inspired me to make this card.

The stamp is a Lili of the Valley stamp and I painted it with Twinkling H2O's and Inktense pencils.  The layers are distressed with faded chipped sapphire distress in and there is a splattering of distress spray in brushed pewter.  The snow flakes and wooden shapes where covered with the distress sprat and glittered with stickles for a touch of extra sparkle.
Supplies
Tattered Lace Dies Angel Wings (D1037)
Lili of the Valley Stamp Peace on Earth
First Edition Silent Night Paper Pad
Papermania Capsule Collection Bexley Black Doily
Wooden Stars and snowflakes HobbyCraft
Die Cut Snow Flake cut on Silhouette
White berry sprig from The Range
Tim Holtz Distress Ink in Chipped Sapphire
Tim Holtz Distress Spray Stain in Brushed Pewter
Inktense pencils
Twinkling H2O's
Silver and white bakers twine HobbyCraft
White lace from stash
White cobweb fabric HobbyCraft
Stardust Stickles
White Sequins

Hope you liked today's instalment.

Happy Crafting
Anna x


Thursday 3 December 2015

Christmas Countdown Day 2 - Silver Antlers

Christmas Countdown Day Two


Silver Antlers


I just adore this free stag stamp from Creative Stamping magazine, I've used it on several cards and I plan to use it on some mixed media layouts too.  I love how simple and clean this card looks,  the silver, white and grey just work perfectly :)

Supplies

Creative Stamping magazine issue 56 free stamps
Penny Black Slapstick Cling Stamp Set Christmas Banners
First Edition Silent Night 6 x 6 paper pad
Black Stazon
Stampin' Up Smoky Slate ink pad
Stickles Candy Cane
Metal snow flake charm
Silver and white twine
White card
Holographic silver glitter

This was so easy to put together, you could easily knock up a batch of these in no time.

I matted and layered the Silent Night papers onto a 6 x 6 card blank, inking the edges with the grey ink.  I then stamped the stag in Stazon onto white card and the banner in grey ink and fussy cut them out, not bothering with the antlers ans I also stamped the stag onto the patterned paper.

I popped up the banner with foam pads and added a bow and charm.

The stag was glued flat to the card and the antlers glittered using the silver glitter.

And that's it, so quick!

Don't forget to check out my new Facebook Page

Happy Crafting
Anna x

Tuesday 1 December 2015

Christmas Countdown Day 1 - Snow Ride

Life seems to have gotten in the way of blogging one again and here we are in December.

I have been a busy bee creating my December Daily album and getting the few cards I am making this year done.  I now only make cards for close family members as I don't have time to make 50 plus cards lol!   I've also been working on some fun mixed media projects which I'll be sharing soon.

I have planned to update with a new blog post every couple of days through out December, so fingers crossed my plans work out.

I'm also planning to get a couple of videos up, to share my December Daily progress and maybe some handmade ornaments I've made for our tree.

I also have a new Facebook Page, go check it out here

So, onto the first instalment of Christmas Countdown!

Snow Ride

This card nearly went in to the trash can lol!  I originally coloured the image just with Inktense pencils, however, I had done it at night in the living room and the lighting is dismal in there and it wasn't looking that great.  I decided to fiddle with it the next morning and added some distress markers and was much happier with the result, not perfect but heyho it's for my Mum so I'm sure she won't mind lol!

Supplies

Lily of the Valley Stamp Toboggan For Two
Ranger Black Archival ink pad
First Edition 6 x 6 paper pad Silent Night
American Crafts white textured cardstock
Papermania Capsule collection grey doily
American Crafts white glitter paper
White iridescent sequins
Small pinecones
White berry sprig
Red Berries
White Eyelash yarn
White lace
Distress Markers
Inktense Pencils
Stickles Stardust
Sakura Gelly Roll glitter pens in red and green

I just love Lily of the Valley stamps, they are so whimsical and sweet!  I stamped the image in archival ink and then water coloured it with Inktense pencils and distress markers.  I added a few touches of sparkle with the gelly roll pens and Stickles.

The large snow flake was cut on my Silhouette from the AC glitter paper, I inked all the paper edges with distress ink and then distressed the edges with my scissors.

To add some dimension and a extra bit of colour and texture I added the cluster of pine cones and berries.

I really love how the card came together and I hope my Mum will love it too.

Happy Crafting
Anna x


Monday 30 November 2015

Christmas Countdown Series

Christmas Countdown Series


Hi, I'm excited to announce I'm doing a series of posts to countdown Christmas, with lots of lovely projects to share.

I've been busy with my Christmas crafting, there will be posts about cards, ornaments, mixed media projects and scrapbooking my December Daily album.

The first post will be up on the 1st of December so please stop by and say hi :)  I'll be adding a post every other day throughout December and there may be some blog candy involved somewhere so be sure to keep popping by.

Happy Crafting
Anna x

Sunday 27 September 2015

Happy House

Well here we are, at the beginning of Autumn and this is the first post since the beginning of the year.  How bad is that.  But in my defence I have been super busy making lots of fabulous stuff for work.

Yesterday, I got to have some well deserved 'me' time with my friend and co-worker Kathleen and we had a day out at Art From The Heart.  We attended a Stampotique class with Karen Hayselden and made and adorable wooden house.  I loved the door stamp, my NEED TO HAVE list is getting longer by the minute lol!

Here's what we made
I added my own touches to make it mine, such as shading around everything with a Faber-Castell Pitt artist pen and blending it with my finger and adding the little wooden butterfly and heart which I coloured with a orange Gelato and glittered with Tropical Tangerine Stickles, I added a Tim Holtz game spinner and a little key to finish it off.  I just love it, it now has pride of place in my craft studio.

This was the first class or workshop I have ever attended and I have been bitten by the bug, I had a fab time and Karen was great, it was so much fun.

Hopefully I will be a bit more prolific with my posts in the next few months, it's been crazy since Christmas and will probably get busier but I am learning to be more organised with my time lol!

Happy crafting
Anna x


Sunday 25 January 2015

Steampunk Stuff

Morning ladies and gentles:)

My Brother-in-Law is Steampunk mad and I, also love me some Steampunk too, so as it was his birthday yesterday, I thought I would indulge in a bit of card making (lol!  as if I don't do enough) and made him a Steampunk style card.

Here's the results, quite pleased with it.


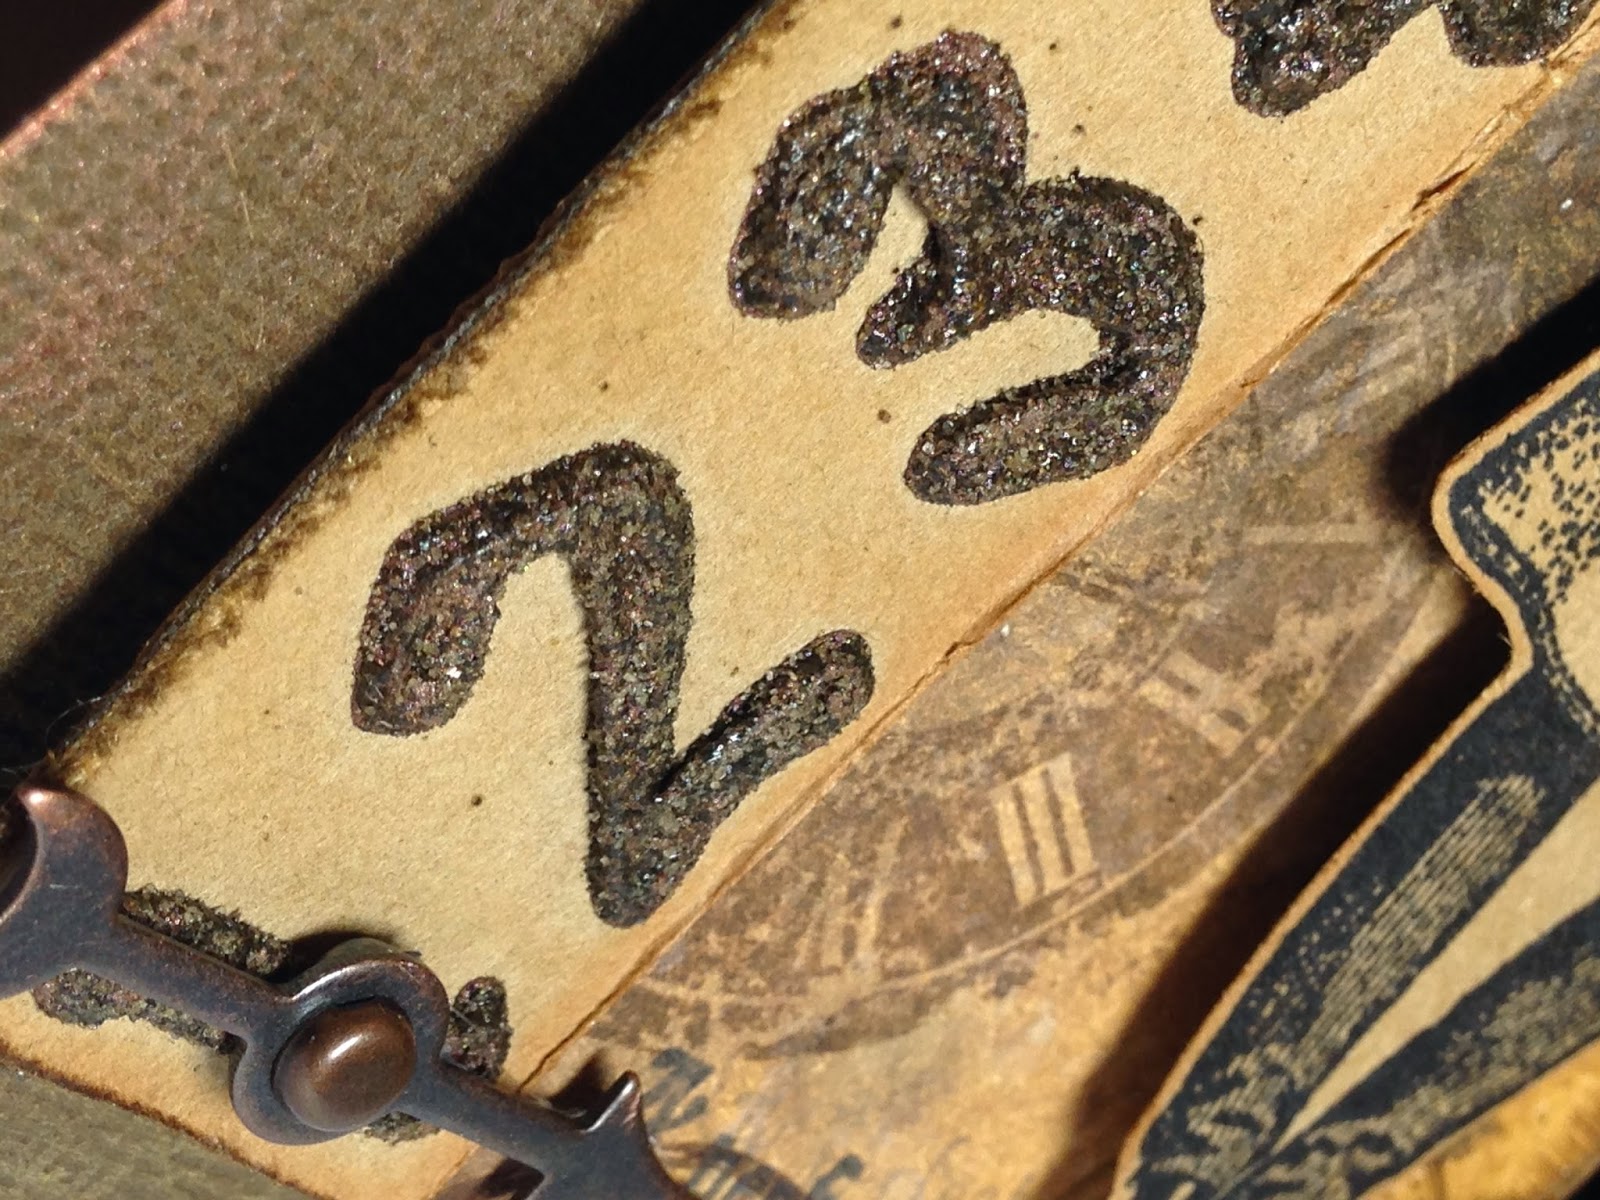
I love all the texture and dimension especially the clock face which I created in Silhouette studio and cut on my Cameo, then sprinkled with copper, gold and Tim Holtz distress powder in walnut stain and heat embossed.  The numbers were created using a really old Helix plastic stencil, it's probably twenty years old lol!  Just goes to show I never throw anything away.  I mixed some modelling paste with some mica powders and some early espresso ink refill to colour it, however in retrospect I really didn't need the mica powder as you can't see it.  I spread the paste through the stencil and then covered with distress embossing powder.  Because the stencil is so thick it gave loads of dimension to the paste.  However I got impatient waiting for it to dry and blasted it with the heat gun, even though it had felt dry, it still puffed up.  It did give it a very cool appearance though and the embossing powder worked really well.

For the tag I splodged some walnut stain, gathered twigs and scattered straw on to my mat and spritz with water, then dragged a manilla tag through the inky mess and then dried with a heat gun.  I then spritzed with Mr Huey's dark calico spray and Dilusions white spray and spritzs with some water, dried and then stamped with Ranger archival ink in potting soil and inked with the same three inks I used to distress the tag.

So lots of messy, inky fun, it made a change from the girly stuff I normally do.

Supplies
Inks
Tim Holtz Distress ink pads Scattered Straw/Walnut Stain/Gathered Twigs/Brushed Corduroy
Rangers Archival Ink Pads Black/Potting Soil
Brilliance Cosmic Copper Pigment Ink Pad
Spray inks
Dylusions Picket Fence
Mr Huey's Dark Calico
Stamps
Creative Stamping Magazine free set Timeless Opulence
Craft Stamper magazine free stamp moustache and Glasses
Prima  Tempus Fugit Cling Stamps
Other
SteamPunk Antique Brass Elements from Hobby Craft
Tim Holtz Ideology Memo Pins/spinners
Papermania Chronology Collection Gears/Clock Faces and Label Plates
Manilla Tag
Tim Holtz Cor'dinations Kraft cardstock
Windsor and Newton Galeria Acrylic Modelling Paste
Embossing Powder Gold/copper/Tim Holtz distress powder walnut stain
Distress Crackle Paint Rock Candy
Tin Holtz Gears Embossing Texture Fade Folder


Thanks for dropping by, leave some love in the shape of a comment to let me know what you think.

TTFN
Anna x

Saturday 3 January 2015

Christmas Projects

Hi, well it's been a while, so much exciting stuff going on in my life that I haven't had much time for posting or creating stuff outside of work.

Firstly I want to say  
HAPPY NEW YEAR!!

So what have I been up to, well I now work for and with the lovely and very talented Stephanie Weightman, I'm also lucky enough to get to work with the equally lovely and talented Nancy Watt and Diane Peternel.  I am now a creative sample designer for Craft Channel Productions and so far I'm loving it.  I don't get to post my samples and projects as they tend to be for the magazine so obviously that would defeat the object of the magazine if I posted them on here lol!  I have very little time that I can call my own at the minute but I am determined to be more organised this year so, new year, new resolutions lol!

So my plan is to do something for myself at least once a week, and as I tend to be making cards all the time for work, I thought it was about time I dusted off all the scrapbook supplies I've been hoarding for so log and actually get my thousands of photos scrapped!

Other goals I want to achieve this year
Lose weight
Get healthier
Get the house better organised
And the biggy!!!  Learn to DRIVE!!!

So onto the crafty stuff!

Here are just a few projects from Christmas, I didn't actually make many cards this year and had to buy some!  SHOCK! HORROR! LOL!  

My hubby's Christmas card
Digi stamp is by http://www.kennykdownloads.com/ Coloured with Promarkers. Glossy Accents on the gloves and boots. Shaker frame cut on the Silhouette. Stamped inside with a sentiment from Beecrafty.co.uk and it says "If you're not under my tree Christmas morning I'm going back to bed."


Christmas card for a relative. Vintage Santa stamp is by Beecrafty.co.uk Coloured with distress pens an white prisma pencil. Lots of distressing and inking. The edges where inked with Buff It mixed with water an dribbled around the edges.

Light box
The cut file was from the Silhouette store, cut from plain and glitter vinyl.  The inside of the glass was covered with some frosted vinyl but it didn't hide the lights enough so I added a layer of vellum too.  Lights were just some cheap LED battery operated ones from The Range and the frame was from the range too.


My first scrapbook page in a while, this is our Christmas picture this year, splashed with Dylusions inks in Grass, Cherry Pie and White plus some Distress Stain in Pewter. Papers are from an old stack.  I also used washi tape, felt alphas, wooden gingerbread man, a cute lollypop button, twine and a metal snowflake charm, most of which I bought at Hobbycraft.  Stamp sets are by Docrafts and Hero Arts.

My attempt at being organised and actually making a Christmas mini album.  It worked, my album is finished and all the photos are in :)  More on that later.
Ok, that's all for now
happy crafting
Anna x